


Install and test Apache
Apache webserver is the server than serves most websites on the web, so this is will be our webserver of choice :)
Find out all about apache at www.apache.org
Download from httpd.apache.org/download.cgi - download the best available version - Windows Binary (MSI installer)
Once downloaded its time to install. Start the installer and follow the instructions
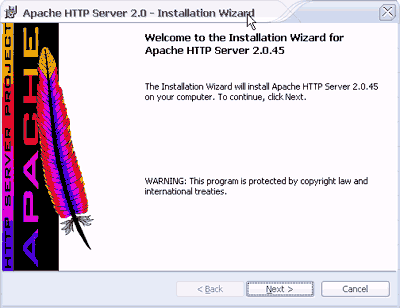
Begin the installation
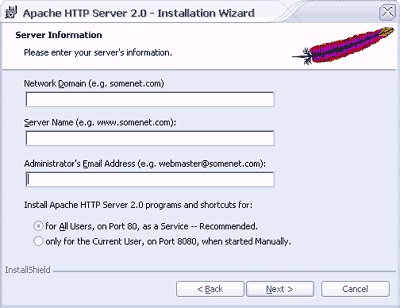
At this point, enter Network domain and Server Name as localhost. Type your email address in the Administrators Email Address box
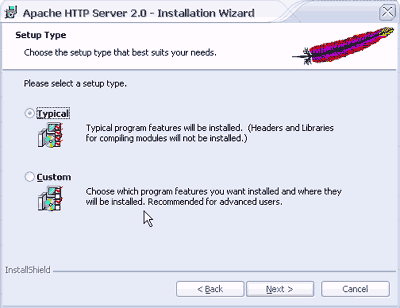
Select Typical install then click next
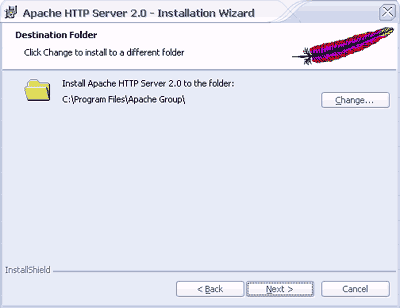
Change the install folder from the default by browsing to your DRIVE:web\ folder then click next. (the installer will create the Apache2 folder)
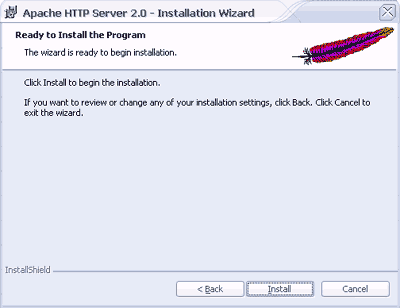
Click the install button to install Apache.
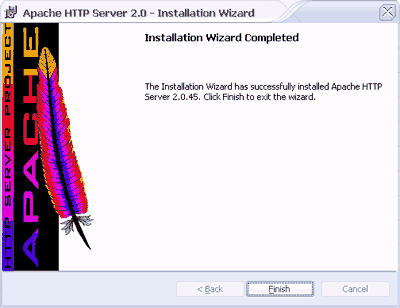
You have now successfully installed Apache
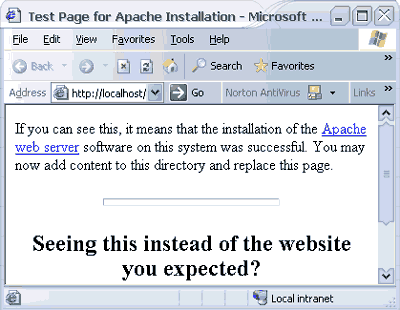
Open your browser and type localhost in the address bar and you should be presented with a page that looks similar to this.
You may also notice a new icon in the system tray. This icon opens the apaches monitor. Right click and select Open Apache Monitor
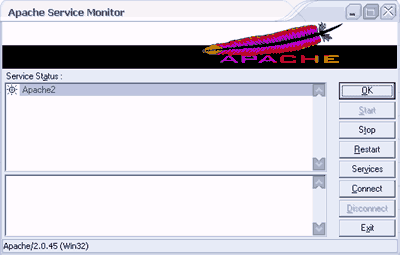
From here you can control the server, stop, start, restart etc.
Webpages are stored in the DRIVE:\web\Apache2\htdocs folder. After installing and testing Apache it is safe to delete the contents of this folder (don't delete the folder). The htdocs folder is your web root (the main folder where your site lives)
You might at this point want to secure your server from unwanted attention. As we are setting this up to be a local development and test server, restrict access from the outside world by either pass protecting with htaccess (the apache docs explain how to do this) and/or blocking access via your firewall (your firewall guide should explain how to block programs).
Next we'll move on to Step 3 - install and test Perl
Setting up a home development server
Step 1 Download all the software
Step 2 install and test Apache
Step 3 install and test Perl
Step 4 install and test php
Step 5 enable server side includes and test
Step 6 install and test mysql
Step 7 install and test phpbb
Step 8 well done
Get your questions answered quickly.